Views: 0 Author: Site Editor Publish Time: 2025-08-08 Origin: Site


Thinking about making your water heater better? You want your expansion tank bracket to be strong and last long. Easywell’s expansion tank bracket gives good support for your heater and keeps your water safe. If you like doing projects yourself, you can do this job with confidence. It is important to install it the right way, whether you own a home or work as a pro.
Pick an expansion tank bracket that fits your space and will last a long time. - Always turn off the water and power before you start to stay safe. - Put the bracket on a strong wall close to the cold-water line. Leave enough room so you can reach it and work on it easily. - Set up the expansion tank straight up with the air valve on top. Connect the pipes carefully so you do not get leaks or rust. - Check your tank and bracket often for leaks, pressure, and movement. This helps your water heater work well.
You need your thermal expansion tank to stay in place. The right expansion tank bracket helps with this. Easywell has many choices for you. You can choose bowed, round, or square brackets. Some brackets are good for wet places. Others are made for tough jobs in big buildings. If you want more safety, pick a corrosion-resistant model. These brackets are made from strong materials like carbon steel or stainless steel. They last a long time and help keep your water system safe.
Tip: Pick a bracket that fits your job. A sealed bowed bracket is good for damp basements. A square bracket is great for small spaces in homes.
Bracket Style | Best For | Key Feature |
|---|---|---|
Bowed | Wet environments | Sealed, corrosion-resistant |
Round | Commercial/industrial | Heavy-duty support |
Square | Residential | Space-saving design |
You need the right tools to make the job easy. Here is a list to help you start:
Dielectric union (stops corrosion between metals)
Copper adapter
Brass tee fitting
Screws and anchors (to hold the bracket)
Pipe (to connect the thermal expansion tank)
90-degree elbow fitting
Adjustable wrench or pipe wrench
Drill with bits (to make holes in the wall)
Tape measure and marker (to mark where the bracket goes)
These tools help you do the job right and keep your water heater safe.
Safety is very important when working with water and heat. Make sure you have:
Safety goggles (to keep your eyes safe)
Work gloves (to protect your hands)
Dust mask (if you drill into walls)
Sturdy shoes (so you do not slip)
You want to stop accidents and keep your work area clean. Always check your gear before you start working on your thermal expansion tank or water heater.
Before you start, make sure you turn off the water and power to your heater. This step keeps you safe and protects your equipment. Here’s why you should never skip this part:
Turning off the gas or power supply stops injuries and damage to your heater.
Shutting off both hot and cold water supplies helps you avoid leaks and pressure problems.
If you skip this step, you risk leaks, pressure damage, electrical hazards, and unsafe working conditions.
You could face electrical shock or gas leaks if you leave the power or gas on.
Proper shutdown makes the installation safe and prevents future issues.
Tip: Always double-check that the water and power are off before you touch any pipes or fittings.
Now, find a strong spot on the wall near your water heater. Use a tape measure to pick the best place for your expansion tank bracket. You want the bracket close to the cold-water line, but not in the way of other pipes or wires. Mark the spot with a marker so you know exactly where to drill.
Pick a spot that supports the weight of the expansion tank.
Make sure you can reach the tank for future checks or repairs.
Mark the holes for the screws so your bracket lines up straight.
Note: According to installation requirements, expansion tanks should go on the cold-water supply line near the heater. This setup meets most plumbing codes and keeps your system safe.
You need enough space for the bracket and the tank. Check that you have at least 18 inches of clearance from the heater vent. This space keeps things safe and makes future maintenance easier.
Step | What to Check |
|---|---|
Clearance | At least 18 inches from heater vent |
Accessibility | Easy access for inspection |
Support | Strong wall or mounting surface |
If you have a tight space, look for a compact bracket style from Easywell. These brackets fit well in small areas and still give strong support.
Make sure you follow all local codes and installation requirements. Expansion tanks are needed in closed water systems to handle pressure changes and keep your heater working right.
Ready to start the installation process? Begin by mounting the expansion tank bracket. Hold the bracket against the wall where you marked earlier. Make sure the bracket sits level and lines up with your marks. Use a drill to make holes for the screws or anchors. If you are working with concrete, use the right anchors for a strong hold.
Easywell’s expansion tank bracket stands out for its stability and corrosion resistance. The stainless steel or galvanized finish protects against rust, even in damp spaces. Rubber pads on some models help reduce noise and prevent scratches on your wall. The welded backing plate spreads the weight, so your bracket stays secure for years.
Tip: Always double-check that the bracket feels solid before moving to the next step. A loose bracket can cause problems later.
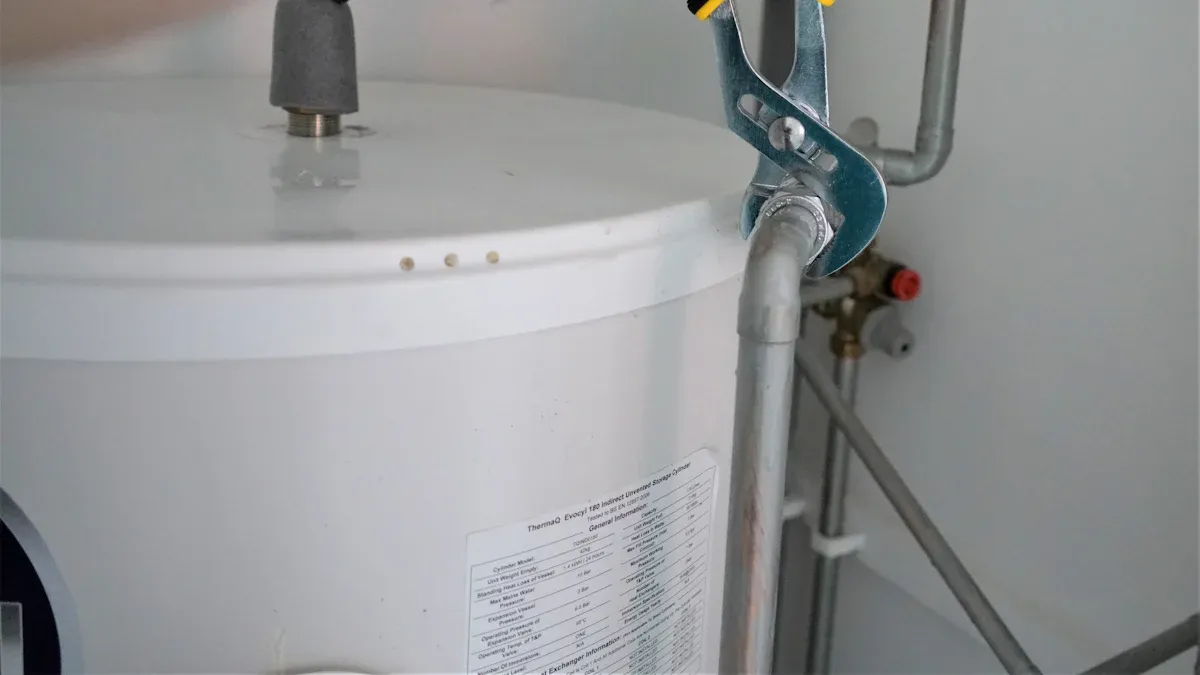
Now, it’s time for the thermal expansion tank installation. Lift the tank and set it onto the bracket. Make sure the air valve points straight up. This keeps the tank working right and helps air stay in the top part. Use the adjustable arms or straps from the bracket kit to hold the tank tight.
Here are some common mistakes to avoid:
Don’t mount the tank upside-down or sideways unless the manufacturer says it’s okay.
Always put the tank on the cold water supply line, before any check valve.
Make sure the tank sits firmly in the bracket and does not wobble.
A proper installation means the tank stands upright, does not move, and lines up with the pipes. If you tap the tank, you should hear a hollow sound. That means the air chamber is working.
Next, connect the piping for your water heater expansion tank. Start by installing a dielectric union on the cold water line. This fitting acts as a barrier between different metals, like copper and steel. It stops electrical currents that cause corrosion. You get fewer leaks, less rust, and cleaner water. The brass tee fitting connects the tank to the main line and works well with many pipe types.
Dielectric unions block corrosion by keeping metals apart.
Brass tees create strong, leak-free joints.
These fittings help your system last longer and keep your water safe.
Use a short pipe and a 90-degree elbow to link the tank to the tee. Make sure the connections are snug but not too tight. Over-tightening can crack pipes or strip threads. Always follow the instructions in your kit for the right tightness. If you are not sure, check the manufacturer’s guide or ask a pro.
Note: After you finish, check every fitting for leaks. Turn the water back on slowly and watch for drips. Tighten any loose spots, but don’t overdo it.
A good expansion tank installation means:
The tank sits on the cold water line, before the check valve.
All fittings are tight, with no leaks.
The tank stands upright, with the air valve on top.
The system runs quietly, with no strange noises or pressure spikes.
If you follow these instructions, your thermal expansion tank and bracket will keep your heater safe and your water pressure steady. Easywell’s expansion tank bracket gives you extra peace of mind with its strong build and smart design.
Sometimes, you find yourself working in a tight spot. Maybe your heater sits in a small closet or the pipes run close to the wall. You still need your thermal expansion tank to fit and work right. Here are some ways to make the installation easier:
Test-fit the bracket before you drill. Move it around to find the best spot with enough clearance.
If the bracket touches other parts, you can carefully grind small areas to help it fit better.
Use a slit rubber hose as insulation if any hose or pipe might rub against the bracket or tank.
Avoid using zip ties in places where you can see them. Try to keep your setup neat and clean.
Watch out for wires and hoses that might limit where you can put the tank. Sometimes, you need to adjust the bracket or the pipes.
Tip: If you have almost no space, look for a floor-standing thermal expansion tank. You can pipe it to the supply side of your system and save wall space.
Getting the orientation right is key for your thermal expansion tank. Always mount the tank upright, with the air valve on top. This helps the internal bladder work as it should and keeps your water heater safe. Never put the tank on a dead-end pipe. That can trap air and cause rust inside the tank.
You want to connect the tank to the cold water line, usually between the shutoff valve and the heater inlet. This setup keeps your system safe and helps the tank last longer. If you are not sure about the best spot, check with the manufacturer. They can help you make sure your installation meets all the rules and keeps your warranty safe.
You want your thermal expansion tank and bracket to last. Regular checks help you catch problems early. Here’s a simple checklist:
Inspect the tank every 6 to 12 months. Look for leaks or puddles near the tank and pipes.
Tap the tank. A hollow sound means it’s working. A dull thud means it might be full of water and need attention.
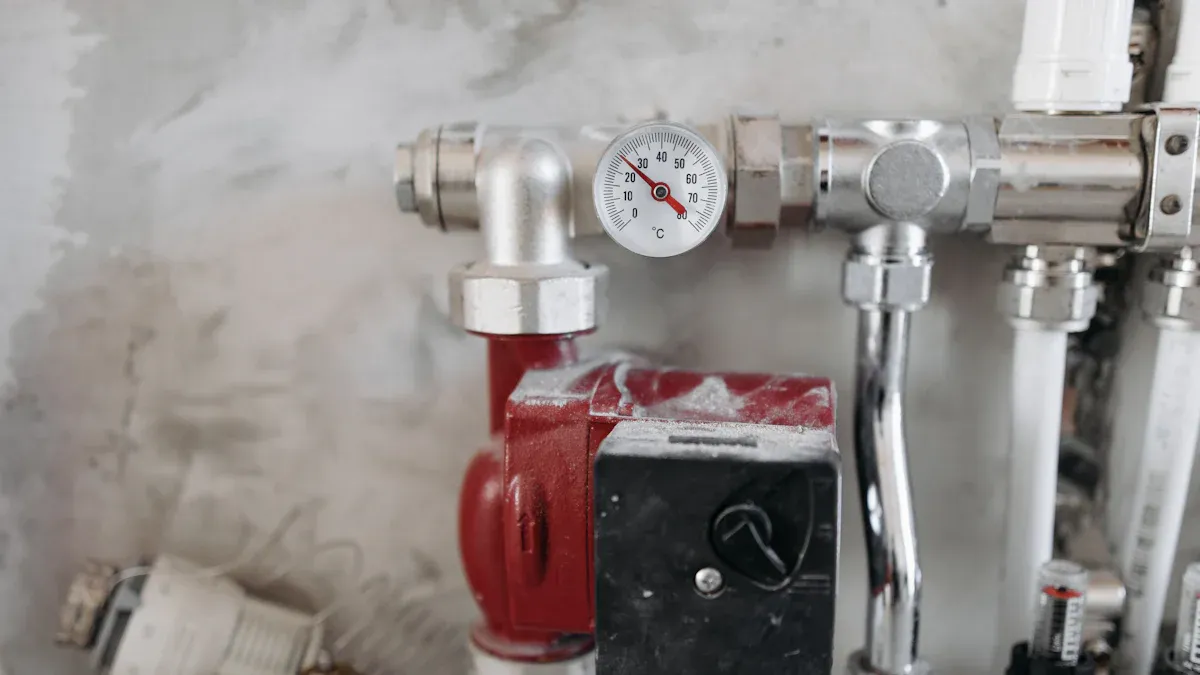
Check the air pressure with a tire gauge. It should match your home’s water pressure, usually between 50–75 psi.
Make sure the tank sits tight in the bracket and nothing moves or rattles.
Listen for strange noises like banging or knocking. These sounds can mean the tank or heater needs a closer look.
If you see rust or corrosion, or if the pressure relief valve leaks, call a pro for help.
Problem | What to Look For | What to Do |
|---|---|---|
Leaks at fittings | Drips or wet spots | Tighten fittings, don’t overtighten |
Tank movement | Wobbling or shifting | Secure the bracket and tank |
Air pressure loss | Low reading on gauge | Add air to match water pressure |
Strange noises | Banging or thudding | Inspect tank and heater |
Note: Always turn off the water and power before you do any maintenance. Wear gloves and goggles to stay safe.
You’ve learned how to install an expansion tank bracket step by step. Easywell’s brackets give your water heater strong support and help your system run smoothly. When you mount the tank the right way, you keep water pressure steady and save energy, which is good for the planet and your wallet. Always double-check your work and stay safe. Not sure about something? Call a licensed plumber if:
You feel unsure about the right tank size
Your plumbing looks complicated
You notice pressure problems
Local codes require a pro
You’ve got this! ����
Check your tank’s size and weight. Look at your space. Easywell offers bowed, round, and square brackets. Pick a corrosion-resistant model for wet spots. If you feel unsure, ask a pro or check the Easywell product guide.
Yes, you can! If you have basic tools and follow safety steps, you can do it. Always turn off water and power first. If you feel stuck or see tricky plumbing, call a plumber for help.
You need a solid wall or support. If your wall feels weak, use wall anchors or add a wooden board for extra strength. Never mount the bracket on drywall alone. Safety comes first!
Check every 6 to 12 months. Look for leaks, rust, or loose parts. Tap the tank and listen for a hollow sound. If you spot problems, fix them right away or call a professional.


