
Views: 0 Author: Site Editor Publish Time: 2026-09-09 Origin: Site


Many homeowners and facility managers face a frustrating reality after upgrading their properties. They install a premium underfloor heating (UFH) system, only to discover certain rooms remain freezing while energy bills consistently skyrocket. This operational failure usually stems from poor water distribution across the heating zones. Manifold balancing is not just an optional tweak you can ignore. It is a critical compliance and commissioning requirement for all hydraulic UFH setups. When installers skip this step, heat sources struggle, components degrade prematurely, and circulation pumps overwork to compensate for the imbalance.
This guide serves a clear, actionable purpose. We will provide an evidence-based, step-by-step framework to calibrate your system correctly. You will learn the mechanical process of adjusting flow meters, understand how to minimize system wear, and recognize exactly when professional intervention is required to protect your equipment warranties. By applying these diagnostic principles, you can optimize thermal output across every single zone. Let us dive directly into the mechanics of proper hydronic flow distribution.
Efficiency Baseline: Balancing ensures optimal flow distribution, preventing boiler or heat pump short-cycling.
Data-Driven Adjustment: Successful balancing requires accurate loop length calculations; guessing flow rates leads to localized system failures.
Risk Management: Improper adjustments can permanently damage flow meters or void manufacturer warranties.
Clear Boundaries: Understanding when a system can be DIY-calibrated versus when it requires a certified HVAC engineer is crucial for long-term system health.
Table of Contents
Water inherently behaves predictably. It always takes the path of least resistance. If you leave a manifold completely open, the hydronic fluid will rush through the shortest pipe loops and bypass the longer ones. This creates a severe operational problem. Small rooms, bathrooms, or hallways connected to short loops will overheat rapidly. Meanwhile, large open-plan living areas connected to long loops will suffer from persistent cold spots. You end up turning up the main thermostat to compensate, which forces the boiler to burn excess fuel. This cycle wastes massive amounts of energy.
A successfully balanced system operates very differently. We define success through three distinct criteria. First, you achieve uniform floor surface temperatures across every heated zone. Second, you optimize the $\Delta T$ (delta T) across the flow and return manifolds. Industry standards generally target a temperature drop of around 5°C to 7°C for underfloor heating. Third, you significantly reduce hydraulic strain on your circulation pump. The pump no longer has to force water against high-resistance bottlenecks.
Modern low-temperature systems depend heavily on these optimized flow rates. Air source heat pumps (ASHPs) and ground source heat pumps operate on narrow temperature margins. They are highly sensitive to poor flow dynamics. If your loops lack balance, the return water comes back too hot or too cold. This immediately causes the heat pump to cycle on and off constantly. Short-cycling destroys the Coefficient of Performance (COP). A precise calibration process ensures your heat source maintains peak efficiency year-round.
System Performance Comparison
Performance Metric | Unbalanced System | Properly Balanced System |
|---|---|---|
Temperature Distribution | Uneven (hot spots and cold zones) | Uniform across all floor surfaces |
Component Wear | High (pump strain and short-cycling) | Low (stable operation) |
Delta T ($\Delta T$) | Erratic across different loops | Stable 5°C - 7°C variance |
Energy Consumption | Excessive (thermostat overcompensation) | Optimized (accurate heat delivery) |
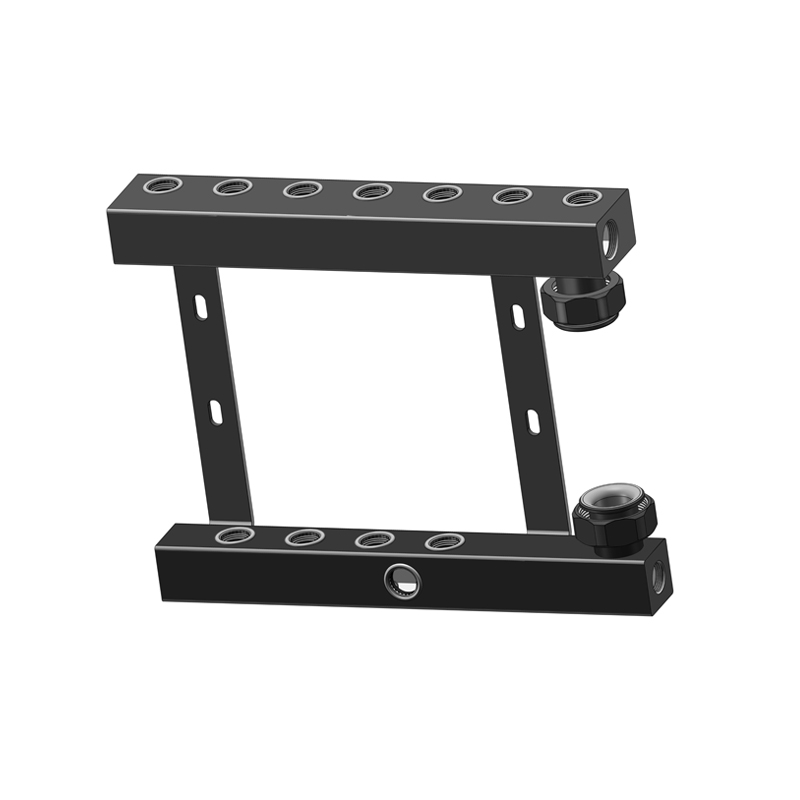
You cannot balance a compromised system. Before turning a single valve, you must evaluate baseline system readiness. The manifold setup must be fully pressurized according to manufacturer specifications (typically between 1.5 and 2.0 bar). Installers must flush the entire network to remove construction debris, flux, and sludge. Most importantly, you must purge all air from the system. Even a small micro-bubble can create immense hydraulic resistance, making accurate calibration completely impossible.
Once you verify system readiness, you need hard data. Guesswork will ruin your system efficiency. You must collect the following metrics for every single zone:
The exact internal and external pipe diameter.
The exact loop lengths in meters (usually printed on the pipe every meter during installation).
The target heat output required per room, calculated via a formal heat loss assessment.
The specific floor finish covering the pipes (wood, tile, or carpet), as this affects thermal resistance.
You also need specific tooling to complete the job safely. Gather a manifold bleed key, a set of metric Allen keys, and the manufacturer-specific flow chart data for your exact equipment. Some modern flow meters require specialized locking ring tools, though most adjust by hand.
We must also address a widespread industry myth. Many amateur installers standardize flow rates at "2 liters per minute" across all loops. This is a fundamentally flawed assumption. Standardizing flow ignores individual zone heat loss and variations in pipe length. A 40-meter bathroom loop requires a vastly different flow rate than a 110-meter lounge loop. Treat every zone as an independent hydraulic circuit.
Understanding how to balance underfloor heating manifold setups requires patience and a methodical approach. Follow these precise steps to calibrate your hydronic network.
Begin by isolating the automatic controls. Remove the thermal actuators from the return valves. These act as the "smart" caps that open and close based on room thermostat signals. Removing them ensures unimpeded, continuous flow during your testing phase. Once you remove the actuators, open all return valves fully. You want zero artificial resistance on the return bar while you adjust the supply bar.
You must calculate the exact water volume required for each loop. We rely on a standard hydronic formula to determine this baseline.
Identify the heat output required for the room (in Watts).
Divide this figure by the specific heat capacity of water combined with your target Delta T.
Adjust the resulting figure based on your documented loop length in meters.
Formula logic dictates: Flow Rate (L/min) = (Heat Output / (Specific Heat Capacity × $\Delta T$)) × 60. However, calculating this manually for every room leaves room for error. We strongly recommend relying on the original CAD (Computer-Aided Design) or installation design specs provided by your system architect. These documents list the exact L/min target for every individual circuit.
Now you begin the mechanical process. Locate the flow meters, which usually sit on the top flow (supply) bar. You must unlock the locking ring at the base of the meter. Gently turn the flow meter body to adjust the internal pin valve. Turning it clockwise restricts the flow. Turning it counter-clockwise opens the flow.
Sequence matters immensely here. Start your adjustments with the longest loop in the building. Leave this longest loop widely open. Then, work your way down sequentially to the shortest loop. The shortest loop will require the most restriction. This sequence pushes the water volume toward the areas of highest resistance first.
Do not lock the system immediately after turning the last valve. You must account for hydraulic delay. Wait 10 to 15 minutes for the system pressure to stabilize across all pipes. Water takes time to establish a new equilibrium.
After this waiting period, re-check all flow meters. Adjusting a short loop often increases the pressure in a long loop, altering its flow rate slightly. You will likely need to perform a second round of micro-adjustments. Once every gauge matches your CAD data, lock the red or black setting rings. Finally, reinstall your thermal actuators onto the return bar.
Calibration seems straightforward on paper, but field conditions introduce severe implementation risks. Component damage ranks as the most common issue. Flow meters consist of fragile plastic, glass, and thin brass components. Never use grips, pliers, or wrenches to turn a stuck flow meter. Over-tightening or applying lateral force will crack the sight glass, leading to catastrophic pressurized leaks.
You must also differentiate between air locks and genuine flow issues. Trapped air mimics a poorly balanced loop perfectly. The flow meter will read zero, and the floor will stay cold. If you mistakenly open the flow meter wider to compensate, you unbalance the entire manifold. Always re-purge the specific loop before assuming the valve needs adjustment.
Balancing a system using inaccurate data creates invisible, long-term problems. If you guess the loop lengths, you build systemic inefficiencies into the home. A heat pump will fight against these incorrect settings for years. These phantom inefficiencies prove incredibly difficult to diagnose later because the system appears visually functional.
Finally, we must consider warranty and compliance. Major equipment manufacturers require documented commissioning certificates. If an expensive heat pump compressor fails due to continuous short-cycling caused by a poorly balanced manifold, the manufacturer will request your commissioning data. Undocumented or improper adjustments can instantly invalidate warranties on your highest-value components.
Facility owners often wonder whether they should tackle this process themselves. The answer depends entirely on system history and data availability.
You can handle micro-adjustments internally (DIY) if the system was previously commissioned by a professional. If you hold the original CAD design data, know the exact loop lengths, and simply need to tweak a single room that feels slightly cool, DIY calibration is safe. You only need basic tools and a careful hand.
However, certain scenarios strictly require a certified HVAC engineer. You must hire a professional for initial system commissioning on a brand-new build. You also need an expert if you integrate a new heat pump into an existing pipe network. If you lose your loop data, or if you suspect underlying hydraulic faults (like a failing mixing valve), step away. Professionals use thermal imaging and advanced pressure diagnostics to reverse-engineer missing data.
You must also evaluate the hardware itself. Sometimes, the manifold is the primary bottleneck. Look for seized flow meters, heavily degraded brass, or return bars lacking adjustable pin valves. If your equipment shows severe oxidation, balancing will fail. In these cases, upgrading and replacing your old underfloor heating manifold becomes mandatory before any flow calibration can occur.

Commissioning Approach Chart
Scenario | Recommended Approach | Primary Risk Factor |
|---|---|---|
Minor temperature tweaks in one room | DIY (Internal Maintenance) | Accidental over-restriction of valve |
Original CAD data available; full recalibration | DIY (Careful Execution) | Ignoring hydraulic delay between adjustments |
Missing loop length data | Professional HVAC Engineer | Guessing parameters causing system inefficiency |
New Heat Pump installation | Professional HVAC Engineer | Voiding expensive manufacturer warranties |
Seized or leaking flow meters | Professional Hardware Replacement | Catastrophic water damage from cracked glass |
Balancing an underfloor heating network requires precision, patience, and reliable data. It dictates the daily operational efficiency, environmental footprint, and physical comfort of your building. Water will always seek the easiest route, and without intervention, your system will waste massive amounts of energy while leaving key spaces cold. Accurate flow calibration prevents component degradation and stops heat pumps from working against hydraulic bottlenecks.
Take immediate action to protect your system. Locate your original installation loop data and CAD designs. Perform a baseline check by observing your flow meters while the system runs at full demand. If your meters look completely dark, or if they refuse to turn smoothly, do not force them. Contact a certified heating engineer or your equipment supplier to evaluate if your manifold components are damaged, obsolete, or ready for a modern replacement.
A: There is no universal "normal" flow rate. The one-size-fits-all metric of 2 liters per minute is a myth. Flow rates depend entirely on specific pipe loop lengths, room heat loss, and floor coverings. A short 30-meter bathroom loop might require 0.5 L/min, while a 100-meter living room loop might demand 2.5 L/min. Always consult your specific CAD design data.
A: Yes, absolutely. Poor balancing creates severe flow rate restrictions and erratic return temperatures. This forces the heat pump compressor to turn on and off rapidly, a condition known as short-cycling. Short-cycling drastically increases mechanical strain, destroys your Coefficient of Performance (COP), and can lead to premature compressor failure.
A: You generally only need to balance the system once during the initial commissioning phase. However, you should recalibrate it if you install a new boiler or heat pump, complete major plumbing servicing, or if the system completely loses hydraulic pressure due to a leak or component replacement.
A: Black flow meters indicate severe system sludge and magnetite buildup inside your pipes. The hydronic fluid is contaminated. You cannot accurately balance a system in this condition. You must hire a professional to power-flush the entire network and add a chemical inhibitor before attempting any flow meter adjustments.


